
Menu
Glue Pull Repair (GPR)
The Process For Maximizing Your Glue Pulling Repair Results
Introducing the 6 steps in Glue pulling by Keco: |
1. Clean
Is my working surface clean?
Thoroughly clean your panel with 99% isopropyl alcohol or as close as you can get to that concentration level like Remover.
If a wax stripper or degreaser is required, use the Remover again after degreasing and polishing.
Remember to clean tabs with Remover.
2. Check
Temperature, temperature, temperature.
Did you check the temperature? Are you using a heat gun to improve adhesion?
Your panel temperature, panel material, and glue temperature are VITAL to the success of your GPR repair efforts.
These aspects are critical for maximizing tab adhesion.
Required considerations:
- Material — Steel, HSS, or Aluminum
- Panel Temperature — 24 degrees Celsius - 35 degrees Celsius is Optimal
- Glue Temperature — High, Smoking Hot, and Runny
3. Choose
What glue should I use?
There are only 3 primary glues to consider for 99% of repairs.
All Purpose
This glue is great for most applications. It’s rigid enough to use for quick, snappy hail damage but flexible enough to handle multi-action
pulls on larger, more complex repairs.
Set Up Time
Small Tabs = 20 – 30 sec
Large Tabs = 2 – 4 min
Fast, Small, and Simple Dents
This glue is ideal for smaller dents. It’s less flexible and requires less time to set up. This allows you to move quicker with more short pulls.
Set Up Time
Small Tabs = 15 – 25 sec
Large Tabs = 1 – 3 min
Slow, Large, Complex Dents
This glue is ideal for larger more complex dents. It’s flexibility and increased setup time equates to a longer working time so you can utilize
multiple actions to knockdown while pulling.
Set Up Time
Medium Tabs = 2 – 3 min
Large Tabs = 6 – 7 min
Remember to use a QUALITY glue gun:
Your glue must be smoking hot and runny to maximize your adhesion success. We offer a variety
of glue guns that all meet the requirement for GPR repairs.
What tabs do I need?
Tabs must be SMALLER than the highs of the dent. Select a tab shaped like your dent or body line and place it within the lowest lows of the dent.
- Rigid Tabs = Shallow Dents
- Flexible Tabs = Deep Dents
See our full tab assortment >>
What pulling tool do I need?
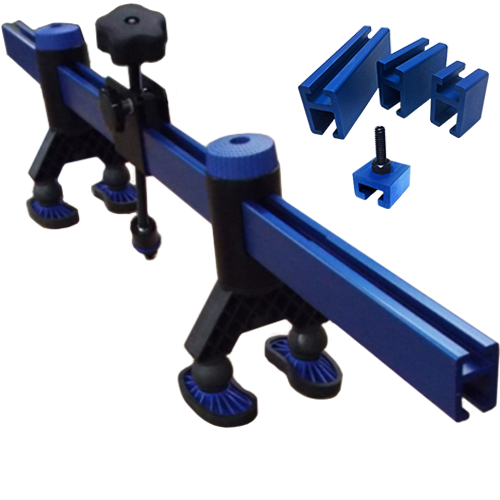 K-Beam = The bridge pullers provide the most precise pulls on medium to large dents.
Techs can place the beams feet on a strong area of the panel and utilize the sustained
nature of the tool to keep the pressure on one area while they knockdown around
the adhered tab.
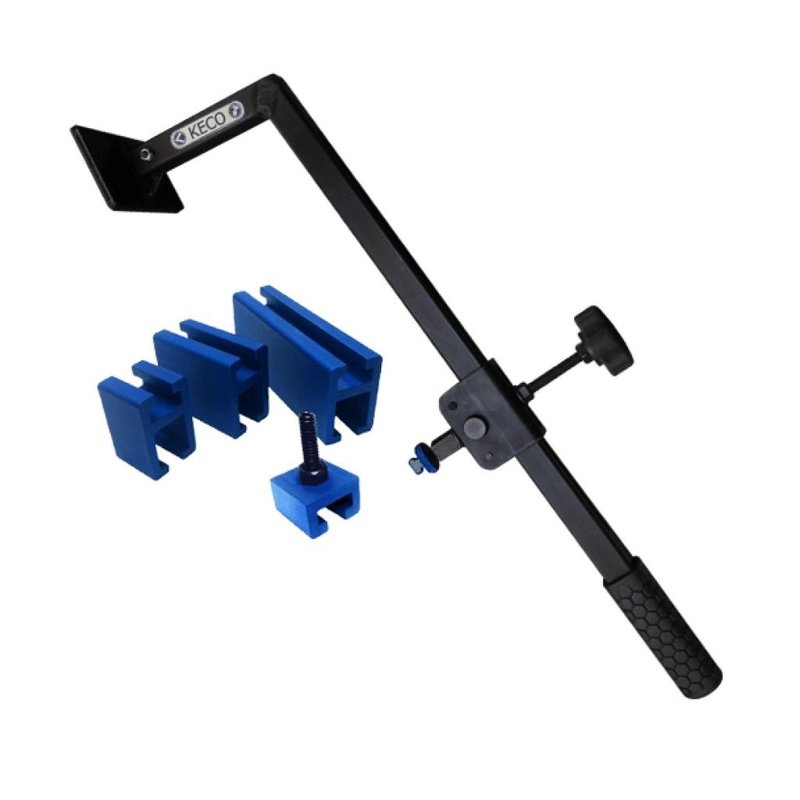 K-Bar = Great for extreme edges on medium to large dents.
The setup on this tool is quick and your pulls are only limited
by the strength of the tech using it.
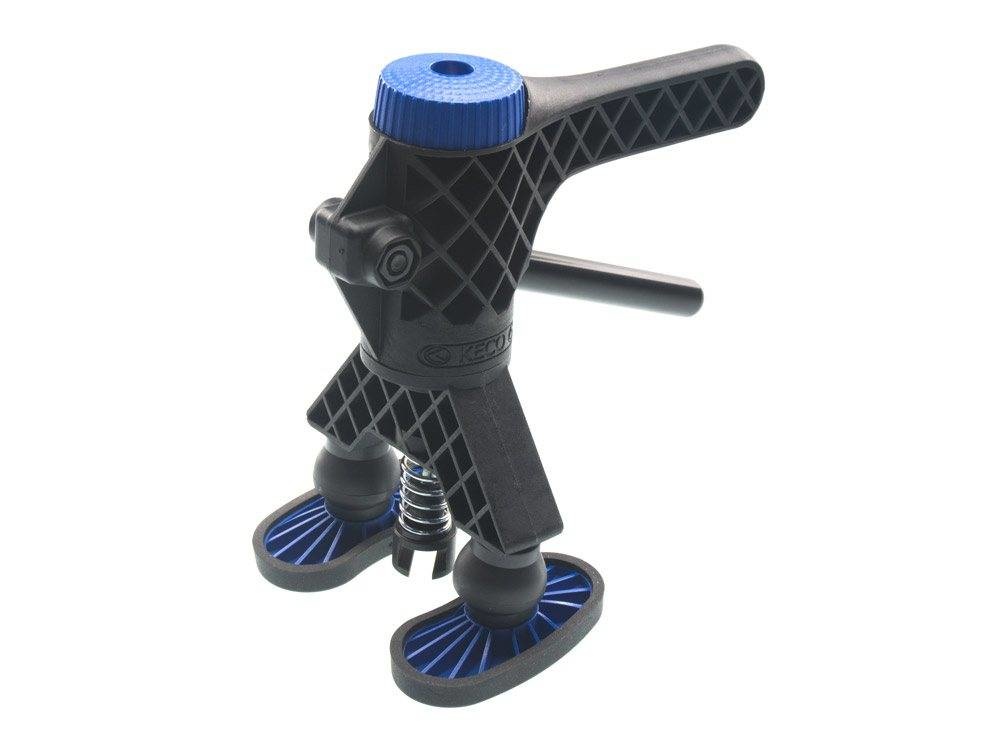 Robo Lifter = Hail, small dings, or medium crease dents.
Provides techs with the ability to massage the metal rather
than jerking or pulling it up.
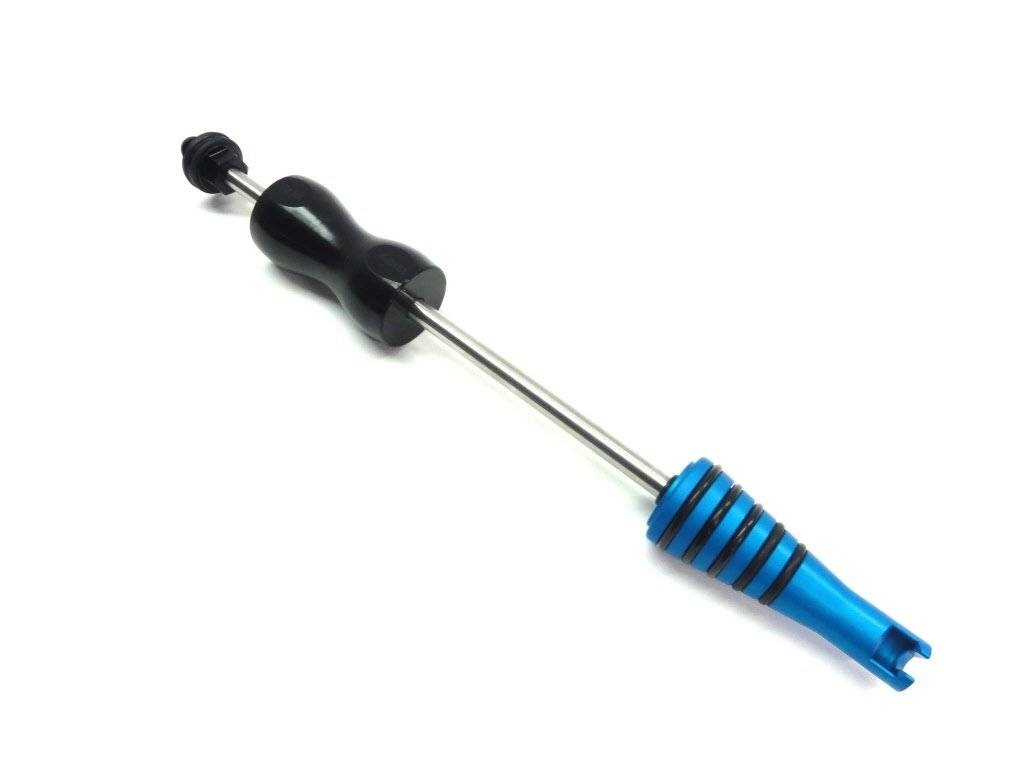 Slide Hammer = Fast pulls for a wide range of dents.
Provides minimal control
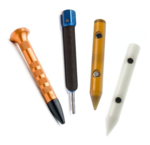
What knockdown tool do I need?
Shop Our Full Assortment of Knockdowns >>
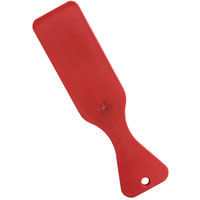 Red Slapper = huge crowns
Use in combination with a body hammer
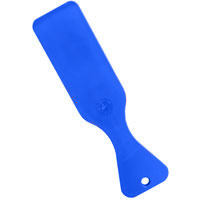 Blue Slapper = straightening edges
Slapper forms to curves
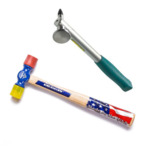 Blending Hammers = medium to large crowns
 Knockdowns = small, sharp crowns
4. Coat
How do I apply the glue and tabs?
Don't forget! You MUST clean your tabs before coating the surface with glue. This is critical in achieving maximum adhesion.
Use a Remover to make sure you are cleaning your tabs correctly.
Use a high-quality glue gun and make sure your glue is smoking hot! It should be completely runny and REALLY HOT when
it comes out of the gun.
See our assortment of glue guns >>
- Fill surface of the glue tab
- Place lightly on the panel
- Wait for the glue to solidify
- Time may vary depending on the type of tab and the ambient temperature of your environment
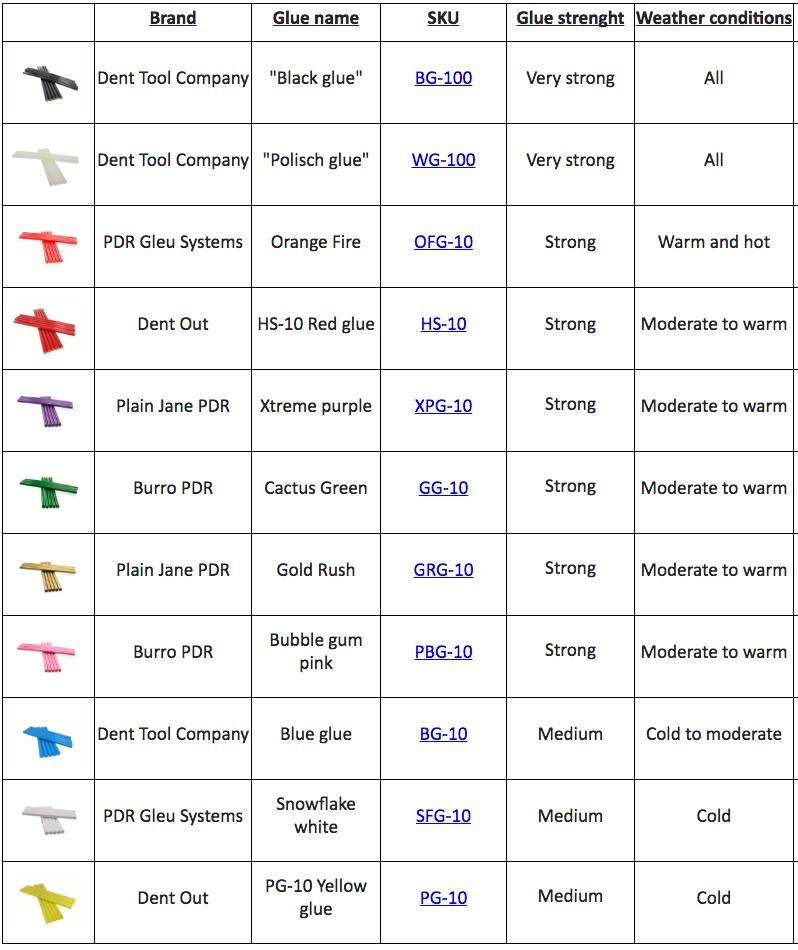
About Our Glue
Don't let the insane amount of glue options intimidate you.
Take a look at the image below to choose the right glue for the job.
5. Correct
What do I pull? What do I knockdown?
Use the same process you would if you were stud welding. Lift the lows. Knock down the highs. But, glue pull repair techniques
make this even easier with the added surface area of a glue tab when compared to a welded nail/stud.
REMEMBER: You DO NOT need to grind away paint or damage the door any more than it already is. This is one of the primary
advantages of glue pull repair over stud welding.
Protect as much of the OEM paint as possible and do absolutely ZERO damage to the e-coat.
Just PULL. After the dent has been pulled you can simply knock down the highs. If you're using a beam or other sustained pulling tool,
you can keep that pulling pressure on the dent while you knockdown at the same time around the dent.
Increase the quality of your repairs, decrease the amount of body filler needed, protect the e-coat, retain more of the OEM paint job,
and STOP STUD WELDING!
6. Continue
Sanding, Filling and Painting
Skim it, sand it smooth, primer it, paint it! That's it. Steps 1-5 provide you with everything you need to achieve a higher-quality repair
than ever before and now you can finish the job however you see fit.
Soyez le premier informé de nos promotions !
Abonnez-vous à la newsletter